A leaky refrigerator door seal looks minor—just a little dampness along the edge—but it’s a bigger deal than it seems. A compromised gasket lets warm air sneak in, driving up energy use, overworking the compressor, and setting the stage for mold, odors, and even food spoilage. If you’d rather skip the DIY route, you can always schedule professional fridge repair in New York right away—same-day slots are common in the city—via this NYC refrigerator repair service. The good news: most door-seal leaks are easy to diagnose and either fix at home or hand off quickly to a pro.
Why it’s important to fix a refrigerator door seal leak early
- Energy savings: Even a small gap forces longer cooling cycles, raising your utility bill. For a swift fix, a refrigerator door seal repair visit prevents the compressor from running overtime.
- Food safety: Temperature fluctuations shorten the safe storage life of perishables.
- Appliance life: Overworked compressors wear out sooner, turning a cheap fix into an expensive replacement.
- Home hygiene: Persistent moisture can lead to mildew growth along the liner and cabinetry.
How common this issue is—and what problems it can cause
Door-seal wear is routine: rubber ages, gets dirty, warps, or loosens. Add a slightly unlevel fridge or overstuffed door bins and you’ve got enough leverage to break the seal. Problems compound fast: puddles under the unit, condensation on shelves, frost near the air vents, and a fridge that “never feels cold enough.”

What Is a Refrigerator Door Seal?
Purpose of the door gasket (seal). The door gasket—often a flexible, magnetic rubber strip—creates an airtight barrier that keeps cold air in and humid air out. It’s essential for stable temperatures and efficient operation.
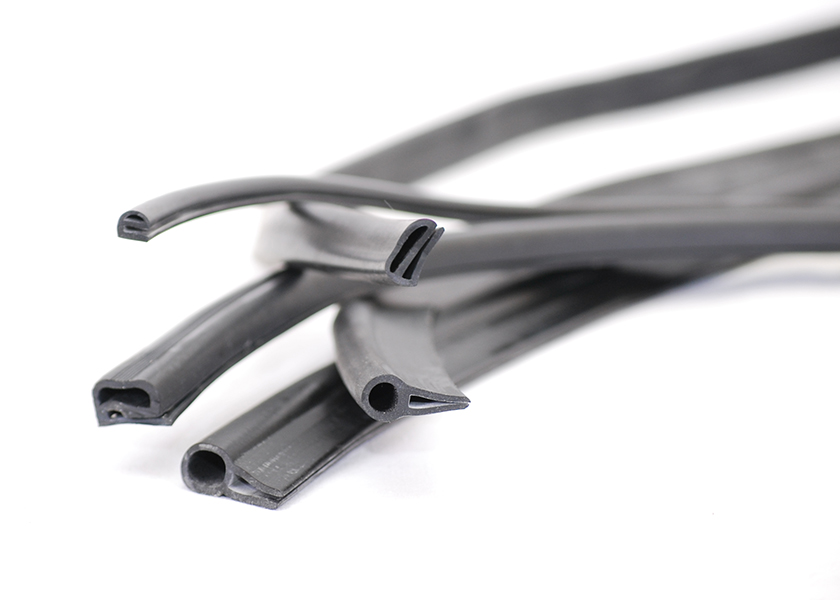
Types of seals and materials used. Most modern fridges use vinyl or synthetic rubber gaskets with embedded magnetic strips. Some models have one-piece push-in gaskets; others screw in under a retaining lip. Older or specialty units might use foam-backed profiles. If the profile on your model seems unusual, a pro can match it; here’s a quick way to request a gasket replacement in NYC.
Common Causes of a Refrigerator Leaking Around the Door Seal
- Clogged or backed-up drain line. A blocked defrost drain causes water to pool and migrate toward the door. This isn’t a gasket failure per se, but it often shows up as a “leak at the seal.”
- Cracks or tears in the door gasket. Even hairline splits let in humid air, creating condensation that drips to the threshold. If you spot damage, consider a quick door-gasket replacement service before the problem escalates.
- Deformed or misaligned seal. Heat, age, or a door left open can warp the gasket. The magnets then fail to contact evenly.
- Poor seal installation. If the replacement wasn’t fully seated, gaps form at corners and along the hinge side.
- Uneven refrigerator leveling. A forward-tilting fridge can keep the door from closing firmly.
- Excess condensation from temperature imbalance. Settings too warm or too cold—or poor airflow from blocked vents—can spike moisture.
How to Diagnose a Door Seal Leak
- Visual inspection. Look for cracks, flattened areas, mold, or visible gaps where light passes through. Check corners and the hinge side closely.
- The dollar-bill (paper) test. Close the door on a bill or sheet of paper and pull. Firm resistance = good seal. If it slides out easily, there’s a leak at that spot. Repeat around the perimeter.
- Check for water pooling. Look at the door threshold, bottom shelves, and under the crisper drawers. Don’t ignore dampness along floor trim below the door.
- Observe for overwork. Longer run times, unusual humming, warm outer cabinet edges, or rising energy bills suggest the fridge is fighting air infiltration. If you’re short on time, have a technician run diagnostics.
Step-by-Step Fixes for a Leaking Door Seal
Prep and Safety
Tools and materials:
- Mild dish soap, white vinegar, soft brush, microfiber cloths
- Cotton swabs or a soft toothbrush for crevices
- Food-safe silicone lubricant (or petroleum-free gasket conditioner)
- Clear silicone (for tiny tears), hairdryer/heat gun (low heat), screwdriver set
- Replacement gasket (model-specific), level, small bowl, towels
Before you begin:
- Unplug the refrigerator or turn off power at the breaker if you’ll use heat or work near electrical components.
- Mop up standing water to avoid slips. Remove items from door bins so you can access the entire seal.
Cleaning the Door Seal and Surroundings
- Mix cleaner: Warm water + a few drops of dish soap or a 1:1 vinegar solution.
- Scrub gently: Use the brush to clean grooves and the magnet channel. Mold and grease reduce flexibility and adhesion.
- Rinse and dry: Wipe with clean water, then dry thoroughly.
- Clean the mating surface: Wipe the cabinet frame where the gasket contacts. Any residue prevents full contact.
Pro tip: Dirt at the corners is a leak magnet—spend an extra minute there.
If cleaning alone doesn’t restore a tight seal, NYC door-gasket repair is a fast next step.

Repairing Minor Seal Damage
- Seal tiny cracks with silicone. For hairline splits (not at a corner), apply a thin bead of clear silicone and smooth it. Let cure per the label.
- Reshape warped seals with gentle heat. With the door open, low heat a hairdryer 6–8 in (15–20 cm) away, sweeping back and forth. When pliable, press and hold the seal against the frame to re-form the lip.
- Restore flexibility with lubricant. Apply a food-safe silicone conditioner sparingly to keep the rubber supple. Wipe off excess to avoid dust attraction.
Replacing the Door Seal
- Find the right gasket. Locate your model number (sticker inside the fresh-food compartment) and order a compatible gasket. Universal options can work, but model-specific fits best.
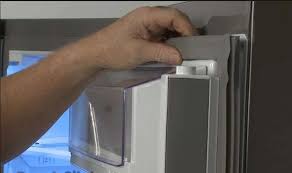
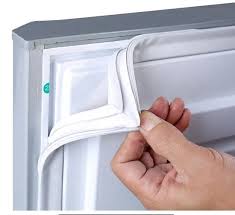
- Remove the old gasket.
- Push-in type: Pull the inner edge straight out of the retaining track.
- Screw-in/retainer type: Loosen the perimeter screws slightly and peel the lip free.
- Warm and flatten the new gasket. Lay it flat in a warm room or soak (briefly) in warm water to relax folds.
- Install:
- Seat the top side first, then the sides, then the bottom.
- For screw-in types, snug the screws after confirming even seating—don’t overtighten.
- Check fit: Close the door and run the paper test at several points. Look for uniform contact, especially in corners and near hinges.
- Break-in: A new magnet can take a few hours to fully “settle.” Lightly warming stubborn spots and massaging the gasket helps.
Adjusting the Refrigerator Level
- Level the cabinet: Place a level on the top. Aim for slightly back-tilted (front a few millimeters higher) so the door self-closes. Adjust the front leveling feet.
- Hinge adjustments: Many doors have adjustable top/bottom hinges. If the door sags, loosen, realign, and retighten per your model’s instructions.
When to Call a Professional
- Leak persists after DIY fixes. Stubborn gaps, warped doors, or misaligned frames may need expert alignment.
- Internal drainage or defrost issues. Frozen evaporator, clogged defrost drain, or faulty defrost components mimic a “seal leak.”
- Damage beyond the door seal. Bent hinges, twisted cabinet, or failing magnetic strips often warrant professional repair.
If any of the above rings a bell, it’s faster (and often cheaper) to book refrigerator repair in New York City and stop the leak before it damages floors or food.

Preventing Future Refrigerator Door Seal Leaks
- Regular cleaning & inspection. Wipe the gasket monthly; check for mold, crumbs, and nicks.
- Avoid overloading door shelves. Heavy gallons tug on the door and deform the seal over time.
- Keep temperature steady. Typical targets: 37–40°F (3–4°C) for the fridge, 0°F (-18°C) for the freezer.
- Ensure good airflow. Leave a couple of inches (5–7 cm) clearance around the appliance and keep interior vents unobstructed.
- Close with care. Don’t slam—firm, even pressure protects magnets and hinges. If you’d like a once-a-year tune-up, consider a preventive maintenance visit in NYC.
FAQ
Can I just glue the gasket back on?
Only if a small section has separated from its channel. Use a manufacturer-approved adhesive sparingly. If the gasket is cracked or flattened, replacement is the better fix.
How often should I inspect my refrigerator seal?
Give it a quick look monthly and a thorough clean every 3–4 months. Corners fail first—check there.
How do I tell if the problem is the seal or something else?
If the paper test fails, it’s likely the seal or alignment. If the seal passes but water still appears, suspect a clogged defrost drain or ice buildup behind panels.
Are universal door seals reliable?
They can work in a pinch but may not seat perfectly. For best performance (and fewer headaches), use the exact OEM-style gasket for your model.
Conclusion
A leaky fridge door seal wastes energy, stresses components, and risks your groceries. Start with cleaning and simple reshaping; move to a measured replacement if needed. Keep the door lightly loaded, the unit level, and temperatures steady. Ten minutes of monthly care pays for itself. If you want it handled end-to-end, NYC refrigerator door-gasket repair and replacement gets you back to cold, dry, and quiet quickly.
