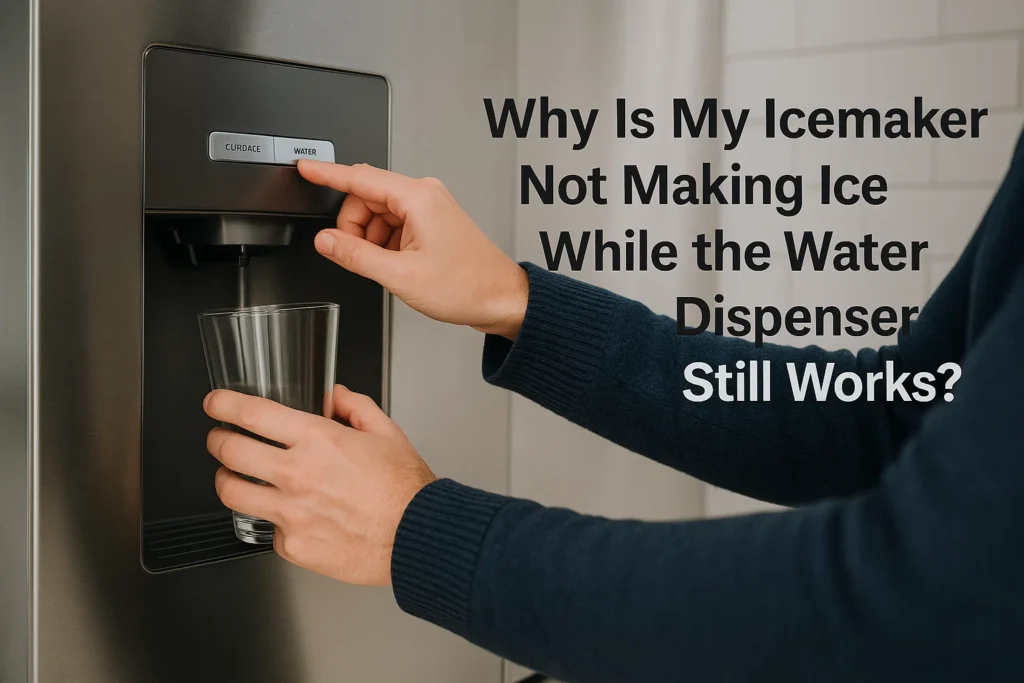
A working water dispenser but a stubbornly empty ice bin is a classic head-scratcher. The good news: that symptom narrows things down. Your fridge is clearly getting water and power, so the failure usually sits in a short chain of parts dedicated to the icemaker—temperature, valves, sensors, or a frozen fill path. Below is a clear, practical guide in the structure you asked for.
Why This Problem Happens
1) Freezer temperature is out of range.
Icemakers rely on the freezer being cold enough to freeze a tray in a reasonable time. If the freezer is warmer than about 0–5°F (-18 to -15°C), ice cycles slow or stall completely—even while the water dispenser (which doesn’t need the freezer) works fine.
2) Frozen or kinked icemaker water path.
The small fill tube that feeds the icemaker can freeze shut. Sometimes low water pressure or a seeping valve lets droplets sit and turn to ice. A kinked line behind the fridge will mimic the same problem.
3) Dual inlet valve: one side bad, the other fine.
Most fridges use a dual (or multi) water inlet valve—separate solenoids for the dispenser and the icemaker. The dispenser side can work while the icemaker side fails electrically or mechanically.
4) Icemaker control or sensor issues.
A stuck bail arm, faulty ice level optics, a failed motor module, or a misread thermostat can stop the harvest cycle even though the fridge dispenses water normally.
5) Clogged water filter or weak water pressure.
A tired filter throttles flow just enough that the dispenser still sputters along, but the icemaker—more sensitive to minimum flow—doesn’t fill reliably.
6) Jammed ejector blades or ice clumps.
If previously formed cubes fuse together, ejector fingers can jam. The icemaker halts mid-cycle and never requests a new fill.
7) Door switch or control settings.
Some models disable the icemaker when the door switch or certain panel settings misbehave. It’s rare, but it happens—especially after recent control changes or power outages.

How to Spot the Root Cause
Quick checks (2–3 minutes):
- Freezer setpoint & actual temp: Set to 0°F (-18°C); use a simple thermometer to confirm real temperature isn’t drifting high.
- Icemaker power/state: Ensure the icemaker is ON; the bail arm (if present) should be down; for paddle/optics types, make sure nothing blocks the sensor.
- Ice bin & mold: Look for jammed cubes or white frost lumps. Any visible blockage suggests a mechanical jam, not a water issue.
Targeted observations:
- Dry ice mold after 3–4 hours: Points to no fill (frozen fill tube, bad icemaker side of inlet valve, or very weak pressure).
- Solid block of ice in mold: Usually an overfill or a valve that’s seeping when it should be closed.
- Water dispenser strong, then sputtery: Often a clogged filter or borderline pressure; the dispenser hesitates, the icemaker gives up.
Simple tests (model-dependent):
- Test button/cycle: Many icemakers have a small test button under the front cover. If the cycle runs but no water enters, suspect fill tube freeze or the valve.
- Blow test on fill tube: With the fridge unplugged and tube removed, you should be able to blow air through. If blocked, it’s iced.
- Listen for the fill: During a test cycle you should hear a brief valve click and a 2–7 second water flow.
What You Can Do Yourself (Safely)
Unplug the fridge or turn off power when removing covers. Turn off the water supply if you disconnect any lines. If something feels unsafe, stop.
1) Dial in the temperature
- Set the freezer to 0°F (-18°C). Give it 6–12 hours to stabilize. Poor cooling from overstuffing or blocked vents can also keep the mold from freezing; tidy the airflow.
2) Replace the water filter
- If it’s older than 6 months (or water flow feels weak), swap it. After replacement, flush 2–3 liters through the dispenser to purge air and debris.
3) Check for kinks and pressure
- Pull the fridge forward carefully and inspect the water line for kinks.
- Household pressure should be at least 20–40 psi. If your dispenser stream is anemic, that’s a clue.
4) Defrost the fill tube
- Many blockages are just ice in the small tube entering the icemaker.
- Method: Power off. Gently warm the tube using a hair dryer on low, short bursts, towel in place to catch drips. Don’t overheat plastic or gaskets.
- If ice returns quickly, you may have a seeping inlet valve that needs replacement.
5) Clear jams in the ice bucket and mold
- Remove the bin, break up clumps, and ensure the auger/ejector turns freely.
- If cubes are wedged in the mold, let them melt out at room temp—don’t pry hard on delicate parts.
6) Reset or test the icemaker
- Toggle the icemaker OFF → ON or run the test cycle (if your model has one).
- Watch: does the motor turn, does the valve click, does water arrive? Note which step fails.
7) Inspect the dual inlet valve (basic)
- Visual check for leaks/corrosion where lines connect. A chronically wet or crusty outlet often means the valve is seeping.
- Electrical testing (voltage/ohms) is best left to pros unless you’re comfortable with meters and have model-specific specs.
8) Sanity-check the door switch & controls
- If interior lights misbehave or the display shows icemaker disabled, correct the setting or replace a faulty switch (simple on some models).
When a part likely needs replacement:
- Fill tube ices up again within days → inlet valve likely seeping.
- Dispenser strong but icemaker never fills → icemaker solenoid on the valve may be dead.
- Icemaker cycles but never calls for water → icemaker module/thermostat fault.
- Freezer won’t reach 0°F despite settings → broader cooling/defrost issue.

Need It Fixed Fast? Urgent Professional Fridge Repair
If you’ve run the basics and still have an empty bin, you’re probably down to component testing and replacement—dual inlet valve, icemaker assembly, or deeper cooling diagnostics. That’s the point where same-day help makes a difference (and saves food).
For urgent, on-site fridge repair in New York, you can book through Express Repair NY here:
fridge repair
They can handle exact diagnostics (pressure/voltage tests), replace a seeping valve, or swap an icemaker module—jobs that are quick for a technician but frustrating without the right tools.