When a dryer refuses to start, it’s usually one failed link in a simple chain: power → safety switches → start command → motor. The good news? Most checks are basic and safe if you take the right precautions. Below is a practical, structured walkthrough you can follow before calling a technician.
Safety First (please don’t skip)
- Unplug the dryer or switch off the breaker before removing panels or touching internal parts.
- Gas models: close the gas supply valve. If you smell gas, stop immediately and ventilate—call a professional.
- Capacitors in some motors can hold a charge; avoid touching terminals.
- If your appliance is under warranty, opening panels may void it—review your coverage.
What You’ll Need
- Flashlight, small brush or vacuum
- #2 Phillips and flathead screwdrivers; nut driver (1/4″ or 5/16″)
- Needle-nose pliers
- Multimeter with continuity and AC voltage functions
- Your model number (on the door frame, back panel, or inside the lint trap area)
How a “Start” Circuit Works
Most dryers won’t power the motor unless a few “are we safe to run?” checks pass:
- Door switch closed
- Thermal fuse intact (prevents overheating)
- Belt switch engaged (on many models; detects a broken belt)
- Start button (or control board) sends power to the motor
If any one of these is open/failed, the drum won’t budge.
Step-by-Step Troubleshooting
1) Confirm Real Power at the Outlet
- Check the breaker(s): Electric dryers often use a double (two-pole) breaker. One half can trip, leaving the console lights on but the motor dead. Switch both OFF, then back ON.
- Test the outlet:
- Electric dryers typically require ~240 V AC (in North America) or ~230 V in many regions; gas dryers use ~120 V or 230 V depending on locale.
- Use a lamp or your multimeter to confirm voltage. If power is missing or low, fix the outlet/breaker before touching the dryer.
2) Eliminate “Gotchas” in Settings
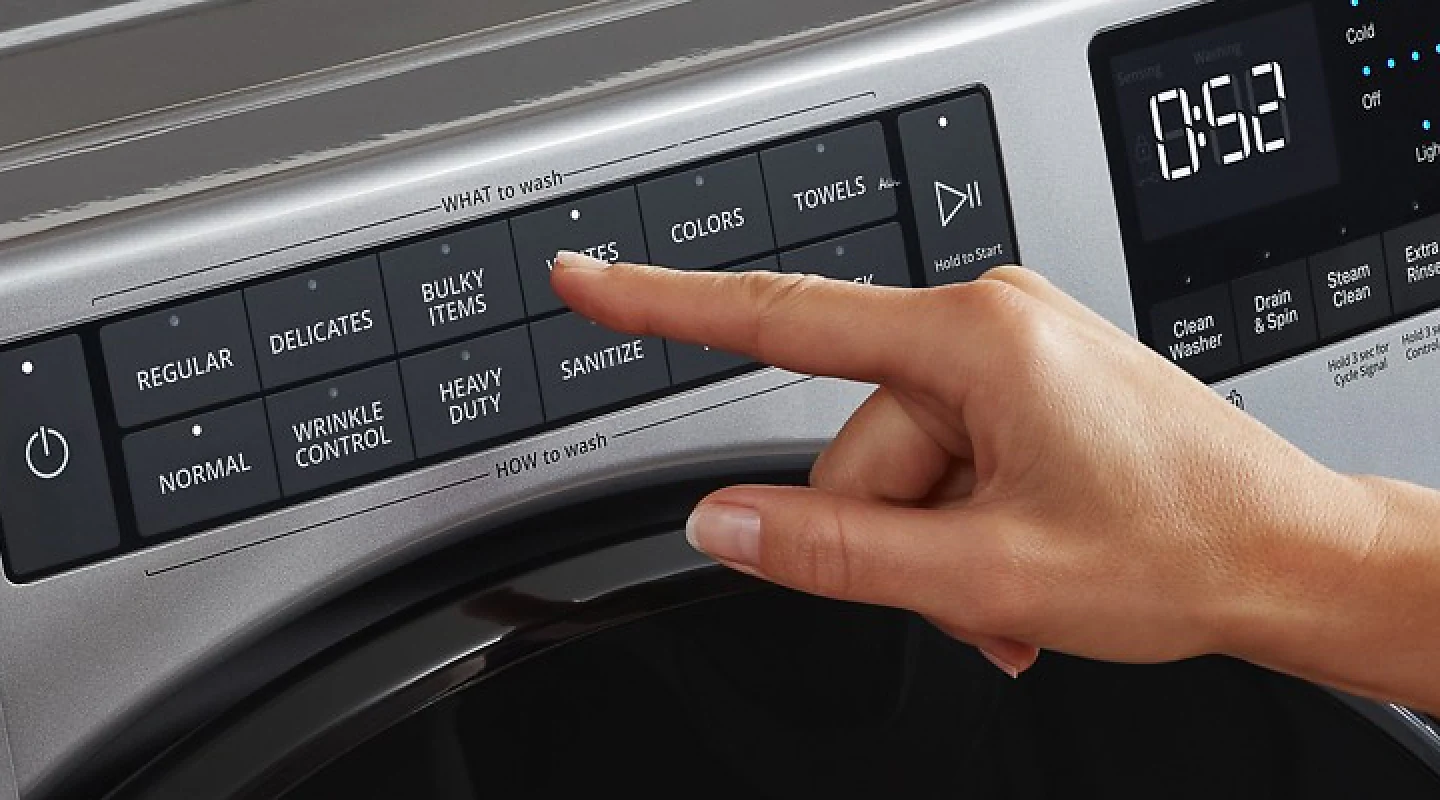
This sounds obvious, but it saves a lot of headaches:
- Child/Control Lock off (look for a lock icon or hold two buttons 3–5 seconds).
- Delay Start off.
- Cycle selection: choose a timed or normal cycle—not “Air Fluff” with zero time.
- Door truly closed: gently push; some doors look shut but aren’t engaging the switch.
3) Listen for Clues When You Press Start
- Nothing at all: suspect power, door switch, thermal fuse, or control.
- Click, then silence: door switch might be okay; check thermal fuse or belt switch.
- Humming but no spin: seized drum, broken belt, worn motor, or something jammed in the blower.
(If it hums, stop trying repeatedly—continuous humming can overheat the motor.)
4) Check the Door Switch
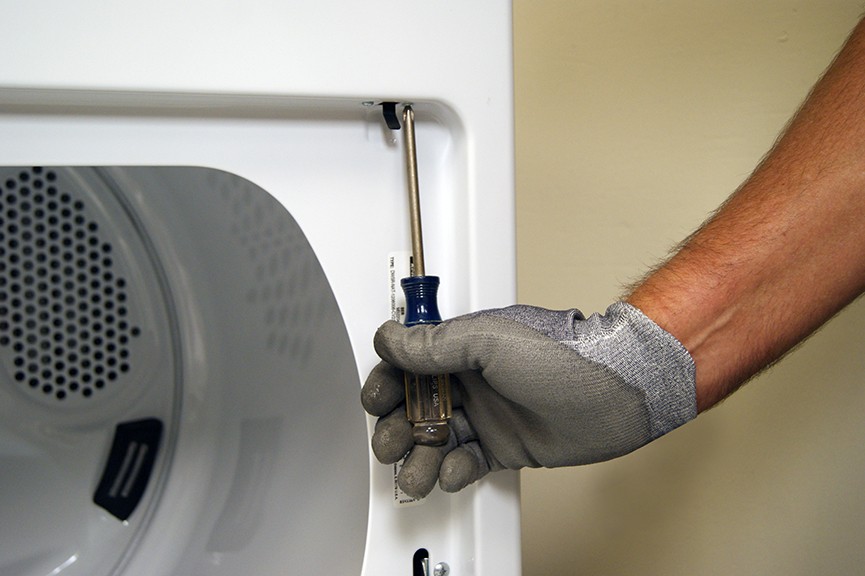
The door switch sits near the latch. It’s a small, inexpensive part.
- Quick check: open/close the door. Do you hear a faint click?
- Continuity test:
- Unplug the dryer.
- Access the switch (usually behind the front panel or control panel bezel).
- Disconnect the wires and test with your multimeter:
- Door pressed: continuity closed.
- Door open: continuity open.
- Replace if readings don’t match the positions or if the switch feels loose/gritty.
5) Test the Thermal Fuse
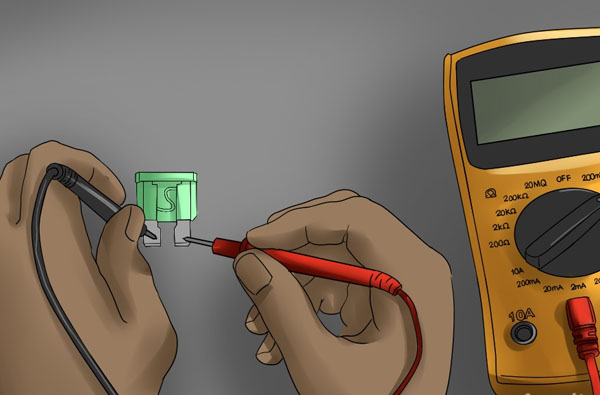
A blown thermal fuse is a classic “dryer won’t start” culprit.
- Found on the blower housing or heater assembly, depending on model.
- Why it blows: restricted venting/overheating. If it’s blown, you must also fix the airflow issue or it’ll blow again.
- Continuity test: with wires disconnected, the fuse should read closed (near 0 Ω). If it’s open, replace it and clean the entire vent path.
6) Inspect the Belt and Belt Switch (if equipped)
Some dryers won’t start if the drum belt is broken or the idler/belt switch isn’t engaged.
- Rotate the drum by hand—spins too freely and quietly? The belt may be off.
- Peek in from the rear or remove the front panel (varies by model) to see the belt on the drum and idler pulley.
- Belt switch test: disconnect wires; it should show closed when the idler is tensioned. Replace the switch or re-seat the belt as needed.
7) Evaluate the Start Button (Mechanical Panels)
- Remove the knob and panel to access the switch.
- Continuity test:
- Not pressed: open.
- Pressed: closed.
- If the switch doesn’t change state or feels mushy, replace it.
8) Check the Motor (and for Obstructions)
- Physical check: make sure the blower wheel isn’t jammed with a sock, coin, or lint clump.
- Spin test: with power disconnected, rotate the drum—feel for grinding or heavy resistance.
- Electrical clues: a motor that only hums and won’t start may have a failed start winding or a bad start capacitor (on some models). Motors are usually replaced rather than repaired.
9) Timer or Control Board (for Electronic Models)
If all safety switches test good and you have proper power, the control may not be sending voltage to the motor.
- Look for burnt spots or a popped component (visual inspection isn’t definitive but can be telling).
- On mechanical timers, a failed contact can block the start circuit.
- Control modules can be tested by confirming output voltage at the motor or relay when Start is pressed—only if you’re comfortable with live testing. If not, this is a good hand-off point to a pro.
10) Gas vs. Electric: What’s Different Here?
- Electric dryers rely on the 240 V supply. If heaters run on one leg and controls on the other, half-tripped breakers create confusing symptoms.
- Gas dryers use less electrical power, but the same start-safety chain applies. Igniters, coils, and flame sensors affect heat, not whether the motor starts—so if it won’t start at all, focus on door switch/thermal fuse/belt switch/motor/control first.
If the Thermal Fuse Blew: Fix Airflow Now
A dryer that overheats once will do it again unless you clear the restriction.
- Clean the lint filter housing, blower fan, and internal ducts.
- Inspect the vent hose for kinks and crushed sections.
- Check the outside vent flap—it should open freely and not be blocked by nests or debris.
- Long runs with multiple elbows may need a booster fan or a reroute.
Quick Decision Map
- Console dead? → Outlet/Breaker/Power cord
- Console on, no response to Start? → Settings lock/Delay → Door switch → Thermal fuse
- Click but no spin? → Belt switch → Motor relay/Control
- Hum, no spin? → Belt jam/Blower obstruction → Motor/capacitor
- Fuse keeps blowing? → Venting restriction → Thermostats/Control logic (rare)
When to Call a Professional
- You smell burning or see scorched wiring.
- Gas odor at any point.
- You’re not comfortable with live-voltage testing.
- Motor replacement or control board diagnostics on complex models.
- Repeated breaker trips even after outlet and appliance checks.
Preventive Tips (so this doesn’t happen again)
- Empty the lint filter every cycle.
- Deep-clean venting every 6–12 months (more often if you dry heavy loads or have long vent runs).
- Don’t overload—motors dislike lifting oversized, soaked loads.
- Keep the dryer level; excessive vibration stresses belts and switches.
- Note the model/serial and keep a small log of repairs—future you will thank you.
