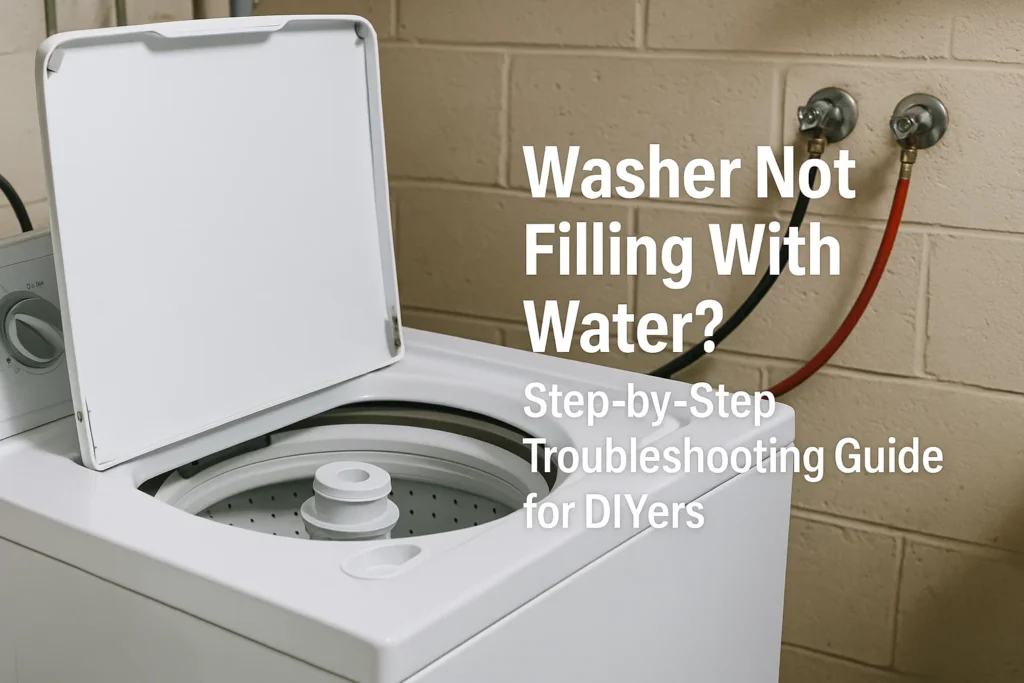
Why Your Washer Is Not Filling With Water
If your washer (washing machine) isn’t filling with water, it’s one of the most common problems people face. But there’s no single cause — several systems must work in harmony. Below are the main reasons this issue happens, with technical and practical perspectives.
- Water Supply Issues
- Shut‑off valves may be closed or partially closed.
- Supply hoses (hot and cold) might be kinked, pinched, bent or trapped behind the machine.
- Hoses could be blocked or damaged internally, reducing flow.
- Municipal water pressure may be low or inconsistent.
- Inlet Valve / Solenoid Failures
- The inlet valve (or valves) opens to let water in when the washer starts. Each has an electrical solenoid that must activate.
- If the solenoid fails (no electrical signal or coil burned out), the valve stays shut.
- Debris or mineral buildup inside the valve may prevent the valve from opening even if the solenoid works.
- Clogged Filters or Screens
- At the washer‑hose connection, and in many inlet valve inlets, small mesh screens or filters exist.
- Sediment, rust, or mineral deposits can make those screens blocked. Water might drip but not flow enough to register.
- Door / Lid Safety Switch / Sensor Problems
- Front‑load washers often have door latches or sensors; top‑load washers have lid switches. If the machine thinks the door/lid is open, it won’t start the water flow.
- These switches may wear out or have misaligned parts.
- Water Level Control / Pressure Switch Malfunctions
- Washers use either mechanical or electronic sensors to detect water level. If this sensor (or its small air hose) malfunctions or is clogged, washer may think it already has enough water.
- A faulty water‑level pressure switch, or a loose/damaged pressure hose, can stop the fill cycle.
- Timer or Control Board / Electronic Control Failure
- Older washers have mechanical timers; newer ones have electronic control boards.
- If timer contacts are burnt, or the microcontroller fails, washer may skip the fill step.
- Wiring issues (loose connectors, burnt wires) also possible.
- Other Causes
- Electrically, if there’s no power to the inlet valve solenoids (blown fuse, bad wiring), water won’t enter.
- If you have a washer with both hot and cold water lines and one is shut off, wash cycles requiring that temperature may not proceed.

How to Detect What’s Wrong
To fix something, you have to know what is wrong. Here’s how to narrow the cause down, step by step, using simple checks first, then more technical ones.
| Step | What to Check | How to Check It | What It Means If … |
|---|---|---|---|
| 1. Water Supply | Ensure hot & cold water valves behind washer are fully open. | Turn knobs fully; feel hoses — are they rigid or collapsed? Remove hose and test flow into a bucket. | If flow is good, supply is fine; if weak or none, fix valves/hoses first. |
| 2. Water Hose Condition | Check hoses for kinks, bends, damage. | Visually inspect; disconnect and blow air through them. | If restricted or damaged, replace hose. |
| 3. Inlet Screens / Filters | Unscrew hose ends at washer inlet, check small screens / mesh. | Clean screens (vinegar + brush) if dirty; re-connect securely. | If clogged, after cleaning, water should flow better. |
| 4. Lid / Door Switch | Close lid or door firmly, try starting fill. Listen/see if washer attempts to start. | Use multimeter to test switch for continuity when closed. | If no continuity, switch is bad. |
| 5. Water Level / Pressure Switch | Find pressure hose (small, usually plastic or rubber) connected to tub or drum. Check for clogs or holes. | Blow through hose lightly; check control panel responses (is water level changing?). | If hose is clogged or switch not responding, replacement needed. |
| 6. Inlet Valve / Solenoids | Unplug washer; test for electrical resistance (ohms) on solenoid coils. | Use multimeter; according to manual, should see specified resistance. | If infinite resistance, coil is open → needs replacing. |
| 7. Control Board / Timer / Wiring | Check wiring harnesses for corrosion or damage. See if control board gets power. | Use visual inspection; measure voltages if comfortable. | If no control signal, or components burnt, board/timer likely defective. |
What You Can Do Yourself (DIY Fixes)
Many problems are reasonably easy to fix yourself. If you have basic tools — screwdrivers, pliers, multimeter — and take safety precautions (unplugging, shutting water off), here are fixes you can try. Always check your washer’s manual model‑specific details since parts vary.
Safety First
- Unplug the washer from power before opening panels or touching wiring.
- Shut off both hot and cold water supply valves.
- Wear gloves and eye protection when handling old parts or removing hoses.
- Keep photos or notes while disassembling: helps with reassembly.

DIY Repair Actions
| Fault | Tools / Materials Needed | DIY Steps | When to Call a Pro |
|---|---|---|---|
| Closed / Partially Open Water Valves | None (maybe wrench) | Turn valves fully open; if stiff, try WD-40 or similar; replace valve if leaking or broken. | If valve is corroded or internal servicing needed. |
| Damaged/Hose Problems | New hose kit (flexible, heavy-duty); wrench | Remove old hose; install new without overtightening. Inspect hose washers to avoid leaks. | If plumbing behind wall is involved. |
| Clogged Screens / Inlet Filters | Small brush, vinegar, clean cloth | Disconnect hose(s); remove screen/filter; soak in vinegar; brush off debris; reassemble. | If screens are irreversibly damaged or can’t be removed safely. |
| Faulty Lid / Door Switch | Replacement switch, screwdriver, multimeter | Remove panel covering switch; test continuity; if bad, install new switch; test. | If multiple safety devices involved or complex locking mechanisms. |
| Faulty Pressure Switch / Hose | Multimeter, small hose (if needed), replacement switch | Locate pressure hose; clean or replace; test switch; secure connections. | If accessible mounting or internal parts needed. |
| Inlet Valve (Solenoid) Defect | New inlet valve assembly, possibly wire connectors | Unplug, remove old valve; install new; check fit; reconnect hoses; secure. | If multiple valves are bad or electrical damage exists. |
| Control Board / Timer Issues | Replacement board or timer module, tools, electrical knowledge | After verifying other parts are fine, remove control panel; swap faulty component; test carefully. | If board is proprietary, expensive, or if warranty remains; in many cases better for professional. |
Tips to Prevent Future Problems
- Replace supply hoses every 5‑7 years or earlier if wear is visible.
- Use water softeners or filters if water is hard; mineral buildup causes many issues.
- Avoid overloading washer; heavy load strains motor, valves, can affect fill cycle.
- Keep washer clean, especially filter screens, detergent dispensers.
- Ensure washer remains level; unbalanced positions may affect sensors or safety switches.
When Self‑Repair Is Not Enough — Getting Professional Help
If after trying the above your washer still won’t fill, or you encountered something beyond your skill level (electrical parts, sealed components, risk of water damage), it’s time to call in help. A professional can save you time and avoid worsened damage or safety hazards.
Here are reasons you might hire someone:
- Multiple parts are failing (e.g. both inlet valve and lid switch)
- Internal electrical components (control board) are suspect
- Warranty concerns or proprietary parts
- Risk of electrical shock or water damage if done wrong
Full Checklist: Troubleshooting Steps
Here’s a consolidated checklist you can print or follow on your phone. Use it to avoid skipping anything.
- Power off, unplug washer
- Shut off water valves
- Check hose condition (kinks, damage)
- Test water flow from valves into bucket
- Remove hoses; inspect and clean inlet screens
- Inspect lid/door latch & switch – test continuity
- Check pressure switch and hose (blockages, leaks)
- Test inlet valve solenoid(s) with multimeter
- Inspect control board/timer / wiring harnesses
- Restore everything; run a short fill cycle to observe behavior
- Monitor for leaks, odd sounds, electrical smells
A washer not filling with water is frustrating, but most causes are identifiable and many are fixable at home. Start with simple things — water valves, hoses, screens — then move on to switches, sensors, and inlet valves. Only proceed to control board or electrical parts if you have experience; otherwise, hiring a pro is safer.
If you ever feel stuck, or you find dangerous electrical problems, reach out to a professional washing machine repair service. For example, washer service specialists like the team at Express Repair NY can handle emergencies, offer reliable washer fixing, and prevent minor issues from becoming major ones.
