
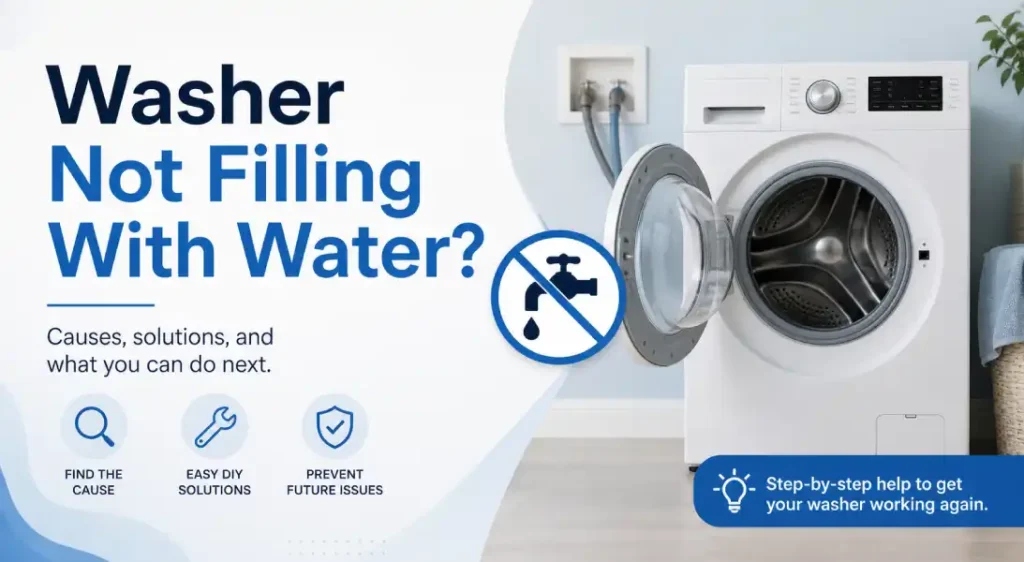
If your washer is not filling with water, the most common causes are:– Closed or faulty water supply valves
– Clogged inlet screens
– Broken inlet valve (solenoid)
– Faulty lid switch or door lock
– Pressure switch issuesStart by checking water supply and hoses, then move to internal components.
Why Your Washer Is Not Filling With Water
Water Supply Problems
- Water valves may be closed or partially open
- Hoses can be kinked, pinched, or blocked
- Low or unstable water pressure
 Inlet Valve Failure
- Faulty solenoid prevents valve from opening
- No electrical signal to the valve
- Mineral buildup blocking water flow
Clogged Filters
- Mesh inlet screens clogged with debris or rust
- Restricted water flow or slow filling
Lid Switch Issue
- Washer will not fill if lid or door is not detected as closed
- Faulty or misaligned switch prevents cycle start
Pressure Switch Problem
- Incorrect water level detection
- Clogged or damaged pressure hose
Control Board Malfunction
- Washer skips fill cycle due to electronic failure
- Damaged wiring or burnt components
| Step | What to Check | How to Check It | What It Means If … |
|---|---|---|---|
| 1. Water Supply | Ensure hot & cold water valves behind washer are fully open. | Turn knobs fully; feel hoses — are they rigid or collapsed? Remove hose and test flow into a bucket. | If flow is good, supply is fine; if weak or none, fix valves/hoses first. |
| 2. Water Hose Condition | Check hoses for kinks, bends, damage. | Visually inspect; disconnect and blow air through them. | If restricted or damaged, replace hose. |
| 3. Inlet Screens / Filters | Unscrew hose ends at washer inlet, check small screens / mesh. | Clean screens (vinegar + brush) if dirty; re-connect securely. | If clogged, after cleaning, water should flow better. |
| 4. Lid / Door Switch | Close lid or door firmly, try starting fill. Listen/see if washer attempts to start. | Use multimeter to test switch for continuity when closed. | If no continuity, switch is bad. |
| 5. Water Level / Pressure Switch | Find pressure hose (small, usually plastic or rubber) connected to tub or drum. Check for clogs or holes. | Blow through hose lightly; check control panel responses (is water level changing?). | If hose is clogged or switch not responding, replacement needed. |
| 6. Inlet Valve / Solenoids | Unplug washer; test for electrical resistance (ohms) on solenoid coils. | Use multimeter; according to manual, should see specified resistance. | If infinite resistance, coil is open → needs replacing. |
| 7. Control Board / Timer / Wiring | Check wiring harnesses for corrosion or damage. See if control board gets power. | Use visual inspection; measure voltages if comfortable. | If no control signal, or components burnt, board/timer likely defective. |
Expert Insight
In most cases we see, clogged inlet screens are the number one cause of a washer not filling with water. Mineral buildup, rust, and debris from the water supply gradually restrict flow until the washer cannot detect incoming water.
Another very common issue is a partially closed water valve or a kinked hose behind the machine — problems that are often overlooked but easy to fix.
From a repair perspective, more serious failures like a faulty inlet valve or pressure switch are less common but still occur, especially in older machines or areas with hard water.
Based on real service experience, starting with simple checks solves the problem in over 70% of cases without replacing any parts.
What You Can Do Yourself
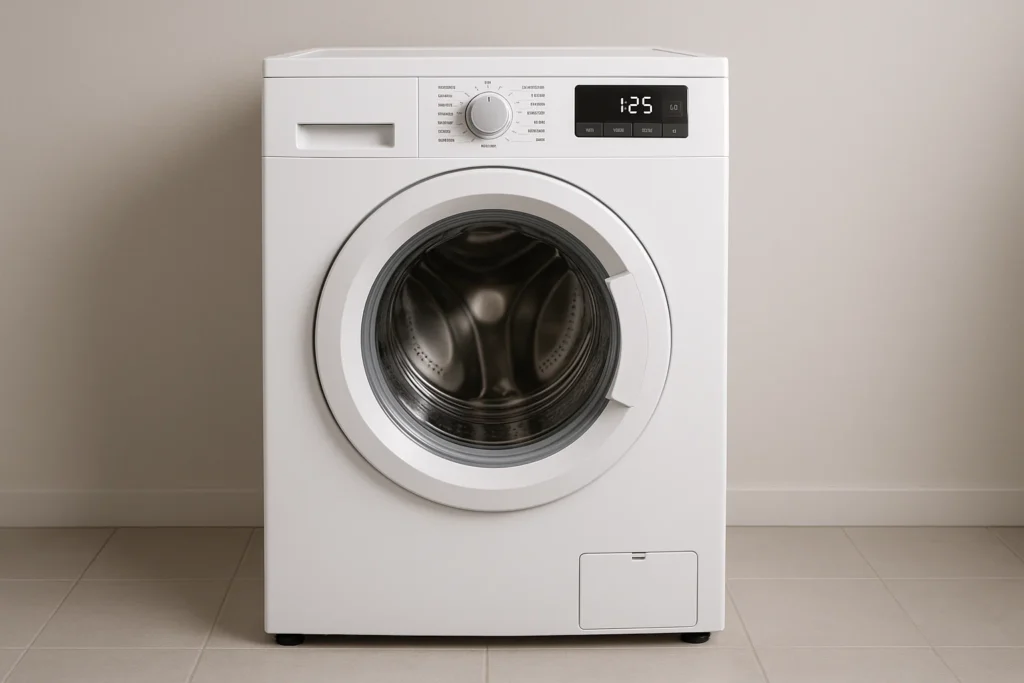
Many problems are reasonably easy to fix yourself. If you have basic tools — screwdrivers, pliers, multimeter — and take safety precautions (unplugging, shutting water off), here are fixes you can try. Always check your washer’s manual model‑specific details since parts vary.
Safety First
- Unplug the washer from power before opening panels or touching wiring.
- Shut off both hot and cold water supply valves.
- Wear gloves and eye protection when handling old parts or removing hoses.
- Keep photos or notes while disassembling: helps with reassembly.
DIY Repair Actions
| Fault | Tools / Materials Needed | DIY Steps | When to Call a Pro |
|---|---|---|---|
| Closed / Partially Open Water Valves | None (maybe wrench) | Turn valves fully open; if stiff, try WD-40 or similar; replace valve if leaking or broken. | If valve is corroded or internal servicing needed. |
| Damaged/Hose Problems | New hose kit (flexible, heavy-duty); wrench | Remove old hose; install new without overtightening. Inspect hose washers to avoid leaks. | If plumbing behind wall is involved. |
| Clogged Screens / Inlet Filters | Small brush, vinegar, clean cloth | Disconnect hose(s); remove screen/filter; soak in vinegar; brush off debris; reassemble. | If screens are irreversibly damaged or can’t be removed safely. |
| Faulty Lid / Door Switch | Replacement switch, screwdriver, multimeter | Remove panel covering switch; test continuity; if bad, install new switch; test. | If multiple safety devices involved or complex locking mechanisms. |
| Faulty Pressure Switch / Hose | Multimeter, small hose (if needed), replacement switch | Locate pressure hose; clean or replace; test switch; secure connections. | If accessible mounting or internal parts needed. |
| Inlet Valve (Solenoid) Defect | New inlet valve assembly, possibly wire connectors | Unplug, remove old valve; install new; check fit; reconnect hoses; secure. | If multiple valves are bad or electrical damage exists. |
| Control Board / Timer Issues | Replacement board or timer module, tools, electrical knowledge | After verifying other parts are fine, remove control panel; swap faulty component; test carefully. | If board is proprietary, expensive, or if warranty remains; in many cases better for professional. |
Tips to Prevent Future Problems
- Replace supply hoses every 5‑7 years or earlier if wear is visible.
- Use water softeners or filters if water is hard; mineral buildup causes many issues.
- Avoid overloading washer; heavy load strains motor, valves, can affect fill cycle.
- Keep washer clean, especially filter screens, detergent dispensers.
- Ensure washer remains level; unbalanced positions may affect sensors or safety switches.
Getting Professional Help
If after trying the above your washer still won’t fill, or you encountered something beyond your skill level (electrical parts, sealed components, risk of water damage), it’s time to call in help. A professional can save you time and avoid worsened damage or safety hazards.
Here are reasons you might hire someone:
- Multiple parts are failing (e.g. both inlet valve and lid switch)
- Internal electrical components (control board) are suspect
- Warranty concerns or proprietary parts
- Risk of electrical shock or water damage if done wrong
FAQ
Why is my washer not filling but has power?
This usually indicates a faulty inlet valve, lid switch, or control board.
Can low water pressure stop a washer?
Yes, low pressure can prevent proper filling.
How do I know if inlet valve is bad?
Test it with a multimeter. No continuity means it is defective.
Is it worth repairing a washer?
If repair costs less than half the price of a new unit, it is usually worth it.