Why Is Your Dryer Leaking Water?
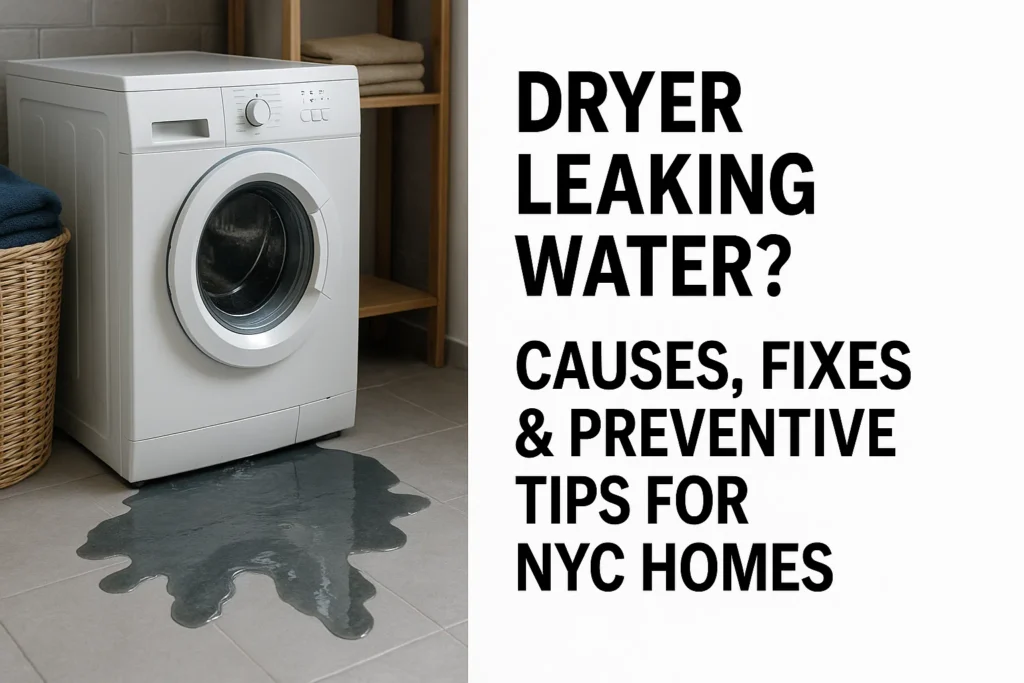
If you notice puddles under or behind your laundry appliances, it’s easy to blame a burst pipe—but a dryer can “leak” water too, usually through condensation that has nowhere to go. In short, warm, moist air is supposed to be pushed outside; when that air cools prematurely or meets an obstruction, moisture condenses and collects in the hose, vent, or even the cabinet, then drips onto the floor. That’s why, if you’re in NYC and need quick help, it often pays to book a local dryer repair in New York rather than guess your way through. That said, with a bit of method and safe checks, you can diagnose the usual suspects and stop the mini “rainstorm” inside your laundry room.
Common Signs of a Dryer Condensation Leak
The earliest red flag is a damp floor near the vent outlet or where the flexible hose meets the wall. You might also see water beading on the outside of the duct or find lint clumped into soggy mats, which is a giveaway that moist exhaust is lingering instead of venting outdoors. In more stubborn cases, the laundry room feels muggy, your windows fog up during cycles, and dry times creep upward even though loads haven’t changed. A faint musty odor—especially behind the dryer or inside the drum after a cycle—often follows repeated condensation and should push you to investigate promptly.
How a Dryer Leaking Water Can Damage Your Home
Water from condensation seems harmless, but repeated drips add up. Pooled moisture can warp vinyl or laminate flooring, blister paint, promote mold behind baseboards, and rust the dryer’s internal components (idlers, pulleys, cabinet seams). If the vent runs through a wall or crawlspace, trapped moisture can saturate insulation and invite mildew you won’t spot until it smells or stains. Over time you also pay a quiet tax: restricted airflow makes the dryer run longer, wasting energy and prematurely wearing heating elements and bearings. In multifamily buildings, excess humidity may even trip moisture alarms or annoy neighbors with persistent odors.

Main Causes of Dryer Condensation Leaks
Blocked Ventilation and Its Role in Condensation Buildup
The most common root cause is airflow restriction. Lint accumulates on internal screens (beyond the removable filter), in the flexible hose, and at exterior flaps. Birds or debris can jam the exterior cap, and long vent runs with multiple elbows slow exhaust enough that vapor condenses before it exits. When air stalls, temperature drops, water falls out of the airstream, and the “leak” begins. Even a partial blockage—say, a kinked foil hose—can create a cold spot where water pools and then drips to the floor.
Dryer Leaking from Hose: What You Need to Check
A cracked, punctured, or loosely clamped hose allows warm, moist air to escape into the room where it cools and condenses. Look for crushed sections behind the dryer (appliances pushed too close to the wall), pinholes from rubbing on sharp edges, or tape “repairs” that have dried out. Also check the hose-to-vent connection: if the clamp is loose or the spigot is out-of-round, vapor leaks. Finally, confirm that the hose material suits the job—UL-listed rigid or semi-rigid metal duct is best; thin plastic or “accordion” foil traps lint and sags, turning into a moisture hammock over time.
Improper Installation or Sloped Venting Issues
Vent runs should slope gently toward the exterior termination so that incidental condensation heads outside, not back toward the dryer. A backward slope or low dip (a “belly” in the line) creates a water pocket that fills and overflows. Excessive total run length or too many elbows compound the issue by slowing air. In cold climates, uninsulated ducts running through unconditioned spaces exacerbate condensation; the hot exhaust hits cold metal and instantly turns to water, which then wicks back to joints and seams.

Quick Reference: Causes vs. Symptoms vs. Fixes
| Cause | Typical Symptom | What to Check First | Risk if Ignored |
|---|---|---|---|
| Blocked vent or exterior cap | Long dry times, humid room | Lint at exterior flap, weak airflow outside | Mold, heater strain, higher bills |
| Damaged or loose hose | Water under hose, visible mist/leak | Cracks, kinks, loose clamps | Rust, wall damage, mildew odor |
| Improper slope or long run | Intermittent puddles after long cycles | Low spots (“bellies”), too many elbows | Standing water in duct, leak-backs |
| Cold/unfinished spaces | Condensation on duct exterior | Insulation missing on vent sections | Drips inside wall/crawlspace |
Step-by-Step Troubleshooting Guide
Inspect the Hose for Cracks or Disconnections
Unplug the dryer and pull it forward gently to access the rear. With a flashlight, trace the hose from the appliance collar to the wall spigot and then—if accessible—through the first few feet of duct. Look for splits, crushed segments, or signs of moisture like rust freckles on nearby metal. Wiggle the connections: a secure joint won’t wobble. If you see duct tape, note that it’s a temporary patch at best; high-temp foil tape or a proper worm-gear clamp seals far better.
Clean Out Lint and Moisture Traps
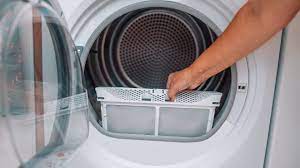
Remove the lint filter and vacuum the housing. If you have a vent cleaning brush or a shop vac with a narrow nozzle, feed it gently into the duct to pull out packed lint. Head outside and verify that the vent flap opens freely with the dryer running; weak airflow suggests a deeper blockage. Clear any bird nests, leaves, or screens (screens shouldn’t be on dryer vents, but you’ll sometimes find them). While you’re there, look for drip stains on the wall or siding—evidence that condensation has been escaping near the termination.
When to Replace the Dryer Hose
Swap any foil or plastic flex for semi-rigid aluminum or rigid metal ducting; it’s smoother inside, resists crushing, and sheds lint more readily. Replace hoses with visible holes, soft spots, or stubborn kinks you can’t straighten without shortening the run. If the current layout forces a long, loopy path, consider rerouting to reduce total length and elbows. When reinstalling, leave a gentle loop that allows you to slide the dryer back without crumpling the hose, and use two clamps per joint when possible (appliance collar and wall spigot).
How to Fix a Dryer Condensation Leak
DIY Fixes for Minor Dryer Leaks
Start simple: clean, tighten, and insulate. After clearing lint and verifying the exterior cap swings open, re-seat the hose and snug each clamp. Insulate any vent segments that pass through unconditioned spaces with UL-rated duct wrap to prevent the hot exhaust from chilling too fast. Correct low spots by shortening the duct or by supporting it every 3–4 feet with rigid brackets. If your exterior cap sticks, replace it with a low-resistance model; a gravity damper or hood with a bird-guard (not a mesh screen) works well. These modest tweaks often stop puddles within a single cycle because you’ve restored steady, warm airflow to the outdoors.

When to Call a Professional Repair Technician
If leaks persist after cleaning and resealing—or you see water inside the cabinet, error codes, or signs of internal rust—bring in a pro. A technician can check internal blower performance, temperature sensors, and drum seals, and can test static pressure across the vent to confirm whether the duct design itself is at fault. Apartment and brownstone installs in NYC often involve long runs behind walls; pros have rotary brushes and cameras to clear deep blockages without demo. For same-day help, a NYC dryer leak specialist can diagnose both appliance and venting issues in one visit, which is faster (and safer) than trial-and-error.
Preventing Future Dryer Water Leaks
Regular Maintenance Tips
Empty the lint filter every load; wash it with dish soap monthly if you use dryer sheets (residue can reduce airflow). Vacuum the lint chute every three months and schedule a full vent cleaning annually—or twice a year if you dry heavy loads or live with pets. Keep a 4–6 inch clearance between the dryer and wall to prevent hose crush, and listen for changes: longer cycles, extra heat in the room, or new odors usually point to airflow trouble before water shows up.
Improving Ventilation to Prevent Condensation
Aim for the shortest, straightest vent run possible, with smooth interior walls (rigid or semi-rigid metal). Minimize elbows and avoid low dips; support long horizontal runs so they don’t sag. If the vent traverses attics, garages, or crawlspaces, insulate it end-to-end to keep exhaust above the dew point. At the exterior, choose a cap with a wide throat and light damper so the dryer doesn’t have to “push” too hard—lower static pressure means warmer air arriving outside and less condensation along the way.
Best Practices for Dryer Hose Installation
Use 4-inch diameter metal ducting and UL-listed clamps. Dry-fit first to confirm slope toward the outside termination (a slight fall—about 6–12 mm per meter—helps prevent water from traveling back). Seal joints with foil tape rated for high temperatures; avoid screws that protrude into the airstream and snag lint. Label the route or take photos before pushing the dryer back, so future maintenance isn’t a guessing game. And if you’re uncertain about code requirements or building constraints, it’s perfectly reasonable to book Express Repair NY dryer service for a compliance-minded installation check.
