A clogged washing machine filter can quietly ruin your laundry routine. If your Whirlpool top load washer is draining slowly, leaving lint on clothes, or starting to smell unpleasant — the filter likely needs cleaning.
The good news? You can usually fix this yourself in under 30 minutes. In this detailed guide, you’ll learn where to find the filter, how to clean it properly, common mistakes to avoid, and when it’s smarter to call a professional.
Why Cleaning the Filter in a Whirlpool Top Loader Matters
The filter is designed to trap lint, debris, coins, hair, and small fabric particles. Over time, buildup can lead to:
- Poor drainage
- Longer wash cycles
- Musty odors
- Increased vibration or noise
- Reduced cleaning performance
 Regular maintenance helps your washer last longer and keeps your clothes truly clean.
Where Is the Filter Located in Whirlpool Top Load Washers?
Unlike many front-load machines, some Whirlpool top loaders do not have a traditional removable lint filter. Depending on the model, the filter may be located in one of these places:
- Inside the agitator
- Along the top rim of the drum
- In the drain pump system
- As a self-cleaning filter integrated into the wash system
Check your user manual or model number if you’re unsure.
Tools You May Need
Before starting, gather these simple tools:
- Soft brush or old toothbrush
- Microfiber cloth
- Warm water
- Mild detergent or white vinegar
- Screwdriver (if agitator removal is required)
- Small bowl or towel for debris
Step-by-Step: How to Clean the Whirlpool Top Loader Filter
Step 1 — Unplug the Washer
 Always disconnect the appliance from power. This prevents electrical hazards and accidental cycle activation.
Step 2 — Locate and Remove the Filter
Depending on your washer design:
If the filter is inside the agitator:
- Open the washer lid.
- Pull off the agitator cap.
- Remove the inner filter or lint trap.
If the filter is along the drum rim:
- Simply slide or lift it out.
If accessing the drain pump filter:
- You may need to tilt the washer or remove a rear panel.
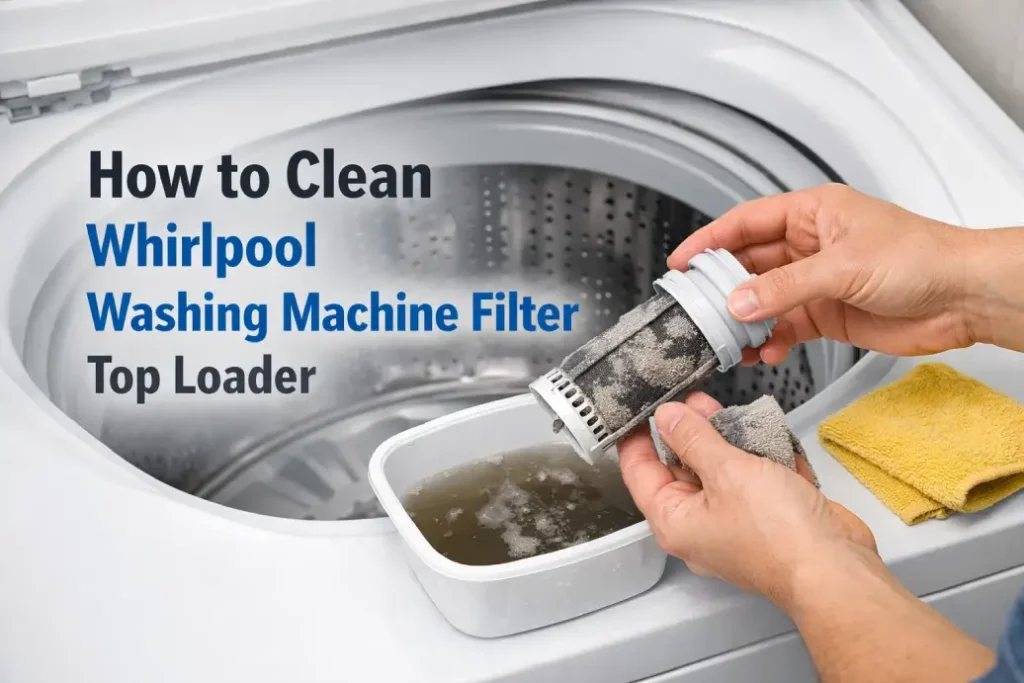
Step 3 — Clean the Filter Thoroughly
Follow this cleaning method:
- Remove visible lint and debris by hand.
- Rinse under warm running water.
- Use a brush to scrub stubborn buildup.
- Soak in vinegar solution (10–15 minutes) if odor or residue remains.
- Dry completely before reinstalling.
Step 4 — Clean the Filter Housing
Debris often hides where the filter sits.
- Wipe the compartment with a damp cloth
- Remove slime or detergent buildup
- Ensure drainage holes are clear
Step 5 — Reinstall and Test
Place the filter back securely.
Then:
- Plug in the washer
- Run a short rinse cycle
- Check for proper drainage and noise levels
Recommended Filter Cleaning Frequency
Regular cleaning prevents expensive repairs.
| Household Usage Level | Cleaning Frequency | Why It Matters |
|---|---|---|
| Light use (1–2 loads/week) | Every 3–4 months | Prevents minor lint buildup |
| Moderate use (3–5 loads/week) | Every 1–2 months | Maintains wash performance |
| Heavy use (daily washing) | Every 2–4 weeks | Avoids drainage blockages and odors |
| Washing pet bedding / work clothes | After heavy cycles | Filters clog much faster |
Signs Your Whirlpool Washer Filter Is Clogged
Watch for these warning signals:
- Washer stops mid-cycle
- Clothes feel overly wet after spin
- Water drains slowly
- Visible lint or residue on garments
- Unpleasant mildew smell
Ignoring these symptoms can eventually damage the drain pump.
Pro Maintenance Tip: Run a Cleaning Cycle
After cleaning the filter, run an empty hot cycle with:
- 2 cups white vinegar or
- A washing machine cleaner tablet
This removes internal detergent residue and bacteria.
Common Mistakes to Avoid
Many homeowners accidentally create bigger problems by:
- Forcing filter removal
- Using harsh chemicals
- Reinstalling a wet filter
- Skipping pump inspection
- Ignoring unusual noises
Proper care ensures your washer continues working efficiently.
When to Call a Professional Appliance Technician
DIY cleaning works in most cases — but sometimes service is necessary.
Consider booking professional repair if:
- The washer still won’t drain
- You hear grinding or buzzing sounds
- Error codes appear
- Water leaks from underneath
- Filter access requires full disassembly
A technician can safely inspect the pump, hoses, and internal components.
Final Thoughts
Cleaning the filter in a Whirlpool top load washing machine is one of the simplest ways to improve performance, extend appliance lifespan, and avoid costly repairs. With just basic tools and a bit of time, most homeowners can complete this maintenance task confidently.
If the issue persists, don’t delay — timely professional service can prevent major damage and restore your washer’s efficiency.